Lucky for me, I belong to the BEARS (Boeing Employees Amateur Radio Society). They have found a new home at the Museum of Flight (MOF). Quite a few BEARS volunteer at the Museum doing a wide variety of tasks. In turn, the Museum allows them the use of a meeting place and a location to place their radio shack. As part of our efforts to give back to the MOF, I was assigned to assemble a radio station to be used in their Emergency Operations Center (EOC). Basically, the BEARS said replace the current setup with something that looks a bit more "professional". Other than that I was on my own.
The MOF resides in Tukwila, Washington. The Tukwila Emergency Communications Team has been "Partnering with the City of Tukwila to Provide Reliable Communications" for quite some time and we decided that would be a good resource to communicate with during an emergency. Their amateur operators are focused D-STAR radios, so to that end we needed to have D-STAR capability.
In addition, we needed normal EMCOMM ability on a local, county and state level. The station of course needed to operate without commercial power for at least a few hours and longer with additional batteries or generator. With that as a starting point off I went to gather the parts and hopefully come up with a professional looking radio resource.
The bits and pieces that went into the BEARS Radio(s) in a Box are:
First, purchased a ICOM ID-880H radio ($200) from Arlene, KF7NDO. This is the same type mobile radio used by the Tukwila Team. This purchase included manual, programming cable and software, a older Donner sound card interface for packet work and various other items to make operations easier.
Next, the BEARS had received a complete HF/VHF/UHF rig donated by Dan, N7PWO. This included a Yaesu FT-897, and compatible LDG tuner, RigRunner 4005 power distribution unit and the bits and pieces to hook everything together.
Rich, K7RFH (that's me) donated several items from the salvaged parts bin, such as, parts carrying case, switches, wiring, brackets, screws, bolts, zip ties, etc.
The rest of the items were purchased either online or from other Hams. Since I carefully shopped sales, the current prices for these items may be different from what I payed. Listed below are what I payed and links to examples products. Those items included:
- 6U 19 inch rack audio case (did not need to be weather resistant) $93
Example: https://goo.gl/XAdpDU - Two 2U metal 19 inch rack shelves $28 each
Example: https://goo.gl/jmxRBj - 2U 19 inch rack slotted panel for holding gauges, switches and power inlet $15
Example: https://goo.gl/r9LBz1 - 12 VDC power supply sized for the needs of the box $20
Example: https://goo.gl/jRgbzJ - power management unit to provide auto-switch-over between commercial power and battery, plus battery charging maintenance $55
Example: Low-Loss PWRgate https://goo.gl/oFLGx3 - Anderson Powerpoles, fused commercial power inlet, Powerpole bracket and LED lighting strip.
Examples: powerpoles $45 https://goo.gl/wAoBnT
power inlet $5 https://goo.gl/eTTDYU
PP bracket $5 https://goo.gl/HOviU3
LED lighting $6 https://goo.gl/pFPuVe
LED 8mm connectors $4 https://goo.gl/cbKzhP - Sealed Lead acid 7AH AGM battery $29
Example: https://goo.gl/b0MCwd
Most items were purchased through amazon.com, but they were not necessarily sold directly by Amazon. All other products were purchased from other amateur radio operators.
Below are some photos of the parts donated and purchased.
6U audio case with shelves and front panel installed.


Donated FT-897 and LDG Tuner

Low Loss PWRgate from Flint Hills Radio
Donated RIGrunner 4005
12 VDC Power Supply, grounding block and two power inlets.
(The inlet on the right was selected for this box.)

For the construction, all radios were attached to the shelves with bolts or screws either directly or using a mobile bracket. In addition, nylon zip wire ties were added to secure FT-897 to the rack shelf.
The following photos are of the completed box and show some detail (closeups) of the installation.


On the left is the box in travel mode. Note the yellow lettering is done with reflective vinyl. Using a flashlight, these glow and make the box easier to find in the dark.
On the right is the accessories box. It contains microphones, power cord, etc.
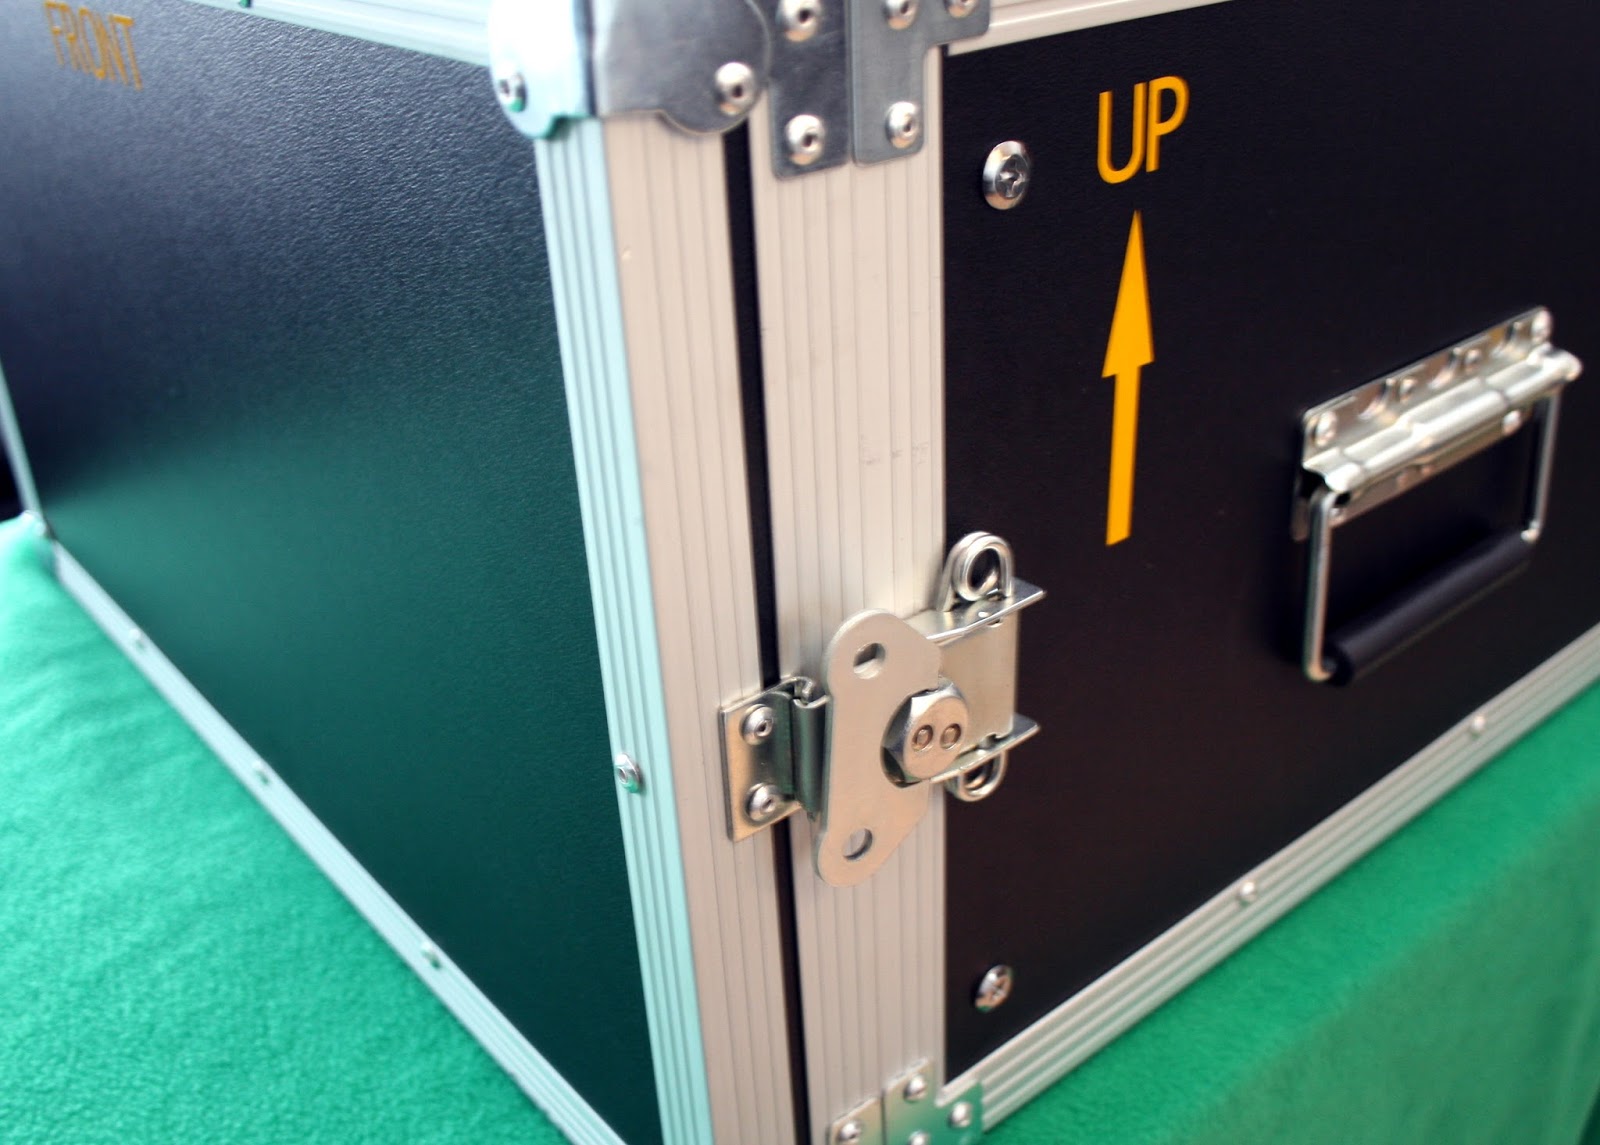
 This pair of photos show the "butterfly" latch operation.
Shown on the right is the front view of the box components with the LED light strip illuminated.

Detail to the left shows the battery enable/disable switch. Next to the switch is the Battery IN and 12VDC OUT Powerpole connections.
 Detail to the right shows power panel (cig socket, meter, USB power), LED light switch and power cord connection and fused inlet switch.
Shown on the right is the rear view of the box components with the LED light strip illuminated.
On the left, is the Low Loss PWRgate and behind it is the RIGrunner 4005. Just to the right of the PWRgate is the 12V power supply.

 On the right is the accessories box, an example of the antenna connectors, programming cable for the ID-880H and lower in the frame the AGM battery.

No comments:
Post a Comment